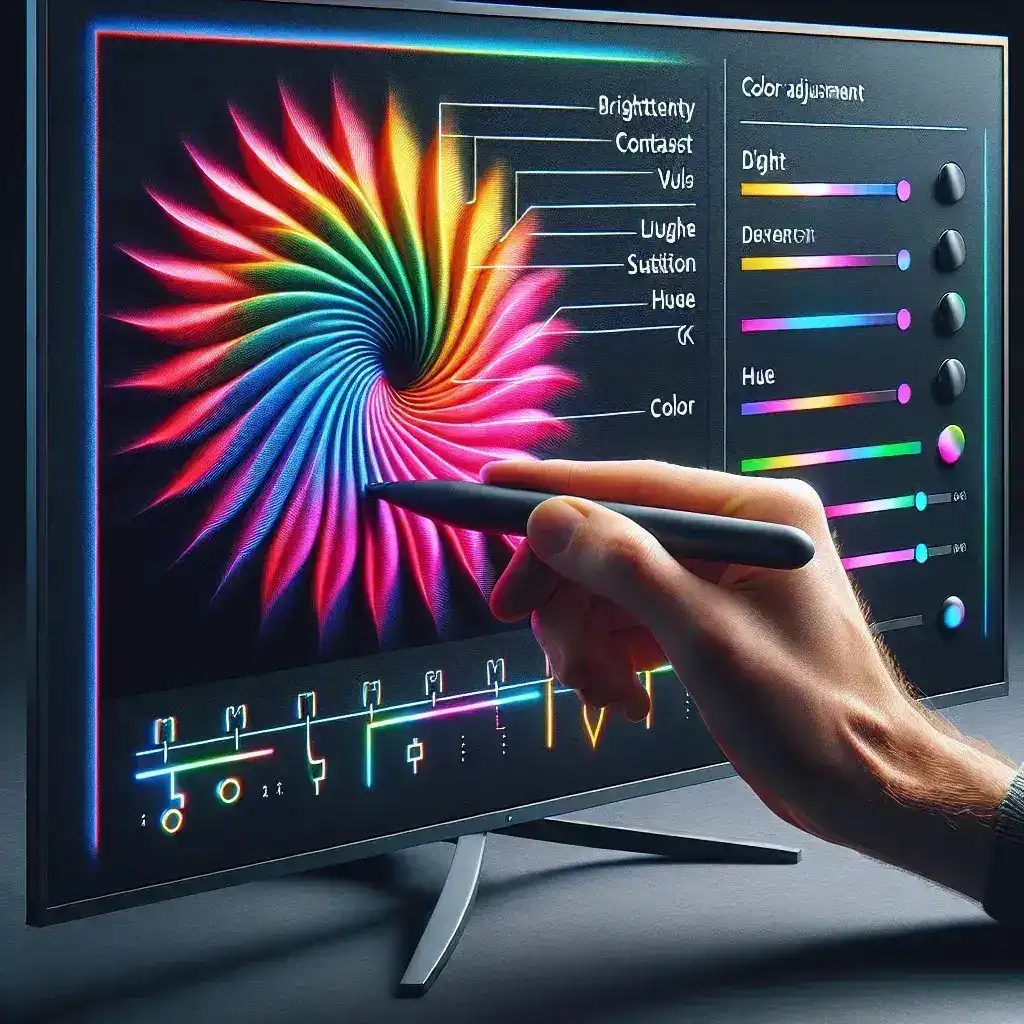
Plasma monitors offer vibrant and dynamic picture quality. However, getting the perfect balance of colors can sometimes be challenging. Understanding how to adjust the color settings can significantly enhance your viewing experience. This article provides a comprehensive guide on how to adjust the color settings on a plasma monitor.
Initial Setup
Before diving into adjustments, it’s important to ensure that your plasma monitor is properly set up. Here are a few initial considerations:
- Ensure the monitor is placed in a location where ambient light won’t interfere with the display quality.
- Make sure all external devices are properly connected.
- Navigate to the monitor’s settings menu using the remote control or monitor buttons.
Basic Adjustments
Start with the basic picture settings before moving on to more advanced adjustments. Common settings include brightness, contrast, and sharpness.
| Setting | Description | Recommended Range |
|---|---|---|
| Brightness | Controls the light output of the monitor. | 45-55% |
| Contrast | Determines the difference between dark and light areas on the screen. | 80-90% |
| Sharpness | Enhances the detail and clarity of the image. | 20-30% |
Color Settings
To enhance the color quality, fine-tuning the color settings becomes necessary. Let’s go through each setting step by step:
Color Temperature
Color temperature adjusts the overall tone of the display. Standard options are usually ‘Cool,’ ‘Neutral,’ and ‘Warm.’
- Cool: Produces a blueish tint.
- Neutral: Balances between blue and red tints.
- Warm: Gives a reddish tint.
For most users, ‘Neutral’ or ‘Warm’ provides the most natural viewing experience.
Tint/Hue
This controls the balance between green and magenta tones on your screen. Adjust this setting until skin tones appear natural and realistic.
Color Saturation
Saturation affects the intensity of colors. Increasing saturation makes colors more vibrant, whereas decreasing it makes the image appear duller. Typically, you should aim for a balance where colors are vivid but not overly saturated.
Advanced Settings
Some plasma monitors offer advanced settings for even more precise control over color and image quality.
RGB Control
Allows you to adjust the individual intensities of red, green, and blue on the screen.
- Red: Adjusts the presence of red tones.
- Green: Adjusts the green tones.
- Blue: Adjusts the blue tones.
Gamma Correction
Gamma settings control the midtones of your picture. Adjust this setting to ensure that all details in shadowed and bright areas are visible.
Special Picture Modes
Modern plasma monitors come with preset picture modes such as ‘Cinema,’ ‘Sports,’ and ‘Game.’ These modes are pre-calibrated for specific types of content and can serve as a good starting point for further adjustments.
Calibration Tools
For the best results, consider using calibration tools or software. These tools can help you achieve precise color accuracy and optimal display settings.
- Calibration discs (e.g., Spears & Munsil, Disney WOW)
- Professional calibration devices (e.g., Colorimeters)
Tips for Optimal Settings
- Regularly check for firmware updates for your monitor as they can include improvements to picture settings.
- Avoid setting adjustments in a brightly lit room to get the best picture quality.
- Give your eyes time to adjust to changes; small tweaks can make a big difference.
Conclusion
Adjusting the color settings on a plasma monitor can significantly improve your viewing experience. By following these steps and guidelines, you can achieve the perfect balance of brightness, contrast, and color saturation. Whether you’re watching movies, playing games, or simply browsing, properly calibrated settings ensure you get the most out of your plasma monitor.

